
ELK Lesson 7:設定Kibana
設定Kibana
步驟1:建立/etc/kibana/certs放入憑證,將【ELK Lesson 5:設定Elasticsearch加密傳輸】所產生的ca.crt檔案放入。
$ mkdir /etc/kibana/certs
$ cp /tmp/certs/ca/ca.crt /etc/kibana/certs/步驟2:調整kibana.yml。
$ cd /etc/kibana/
$ vi kibana.yml
kibana.yml內容如下,粗體字是調整設定的地方:
# Kibana is served by a back end server. This setting specifies the port to use.
#server.port: 5601
server.port: 5601

# Specifies the address to which the Kibana server will bind. IP addresses and host names are both valid values.
# The default is 'localhost', which usually means remote machines will not be able to connect.
# To allow connections from remote users, set this parameter to a non-loopback address.
#server.host: "localhost"
server.host: "192.168.50.101"

# Enables you to specify a path to mount Kibana at if you are running behind a proxy.
# Use the `server.rewriteBasePath` setting to tell Kibana if it should remove the basePath
# from requests it receives, and to prevent a deprecation warning at startup.
# This setting cannot end in a slash.
#server.basePath: ""

# Specifies whether Kibana should rewrite requests that are prefixed with
# `server.basePath` or require that they are rewritten by your reverse proxy.
# This setting was effectively always `false` before Kibana 6.3 and will
# default to `true` starting in Kibana 7.0.
#server.rewriteBasePath: false

# The maximum payload size in bytes for incoming server requests.
#server.maxPayloadBytes: 1048576

# The Kibana server's name.  This is used for display purposes.
#server.name: "localhost"

# The URLs of the Elasticsearch instances to use for all your queries.
elasticsearch.hosts: ["https://lab-elk-1.example.com:9200", "https://lab-elk-2.example.com:9200", "https://lab-elk-3.example.com:9200"]

# Kibana uses an index in Elasticsearch to store saved searches, visualizations and
# dashboards. Kibana creates a new index if the index doesn't already exist.
#kibana.index: ".kibana"

# The default application to load.
#kibana.defaultAppId: "home"

# If your Elasticsearch is protected with basic authentication, these settings provide
# the username and password that the Kibana server uses to perform maintenance on the Kibana
# index at startup. Your Kibana users still need to authenticate with Elasticsearch, which
# is proxied through the Kibana server.
#elasticsearch.username: "kibana_system"
#elasticsearch.password: "changeme"

# Enables SSL and paths to the PEM-format SSL certificate and SSL key files, respectively.
# These settings enable SSL for outgoing requests from the Kibana server to the browser.
#server.ssl.enabled: false
#server.ssl.certificate: /path/to/your/server.crt
#server.ssl.key: /path/to/your/server.key

# Optional settings that provide the paths to the PEM-format SSL certificate and key files.
# These files are used to verify the identity of Kibana to Elasticsearch and are required when
# xpack.security.http.ssl.client_authentication in Elasticsearch is set to required.
#elasticsearch.ssl.certificate: /path/to/your/client.crt
#elasticsearch.ssl.key: /path/to/your/client.key

# Optional setting that enables you to specify a path to the PEM file for the certificate
# authority for your Elasticsearch instance.
#elasticsearch.ssl.certificateAuthorities: [ "/path/to/your/CA.pem" ]
elasticsearch.ssl.certificateAuthorities: [ "/etc/kibana/certs/ca.crt" ]

# To disregard the validity of SSL certificates, change this setting's value to 'none'.
#elasticsearch.ssl.verificationMode: full

# Time in milliseconds to wait for Elasticsearch to respond to pings. Defaults to the value of
# the elasticsearch.requestTimeout setting.
#elasticsearch.pingTimeout: 1500

...- server.port: 5601
# 指定伺服器使用的Port。
- server.host: “192.168.50.101”
# 指定伺服器接聽的IP。
- elasticsearch.hosts: [“https://lab-elk-1.example.com:9200”, “https://lab-elk-2.example.com:9200”, “https://lab-elk-3.example.com:9200”]
# 指定要連到的Elasticsearch節點,建議至少設定2個作為備援。 - elasticsearch.ssl.certificateAuthorities: [ “/etc/kibana/certs/ca.crt” ]
# 載入憑證用於HTTPS驗證之用。
步驟3:將Elasticsearch的帳號/密碼加入到keystore。
$ /usr/share/kibana/bin/kibana-keystore create --allow-root
$ /usr/share/kibana/bin/kibana-keystore add elasticsearch.username --allow-root
$ /usr/share/kibana/bin/kibana-keystore add elasticsearch.password --allow-root步驟4:啟動Kibana。
$ sudo systemctl start kibana使用瀏覽器連到IP或Hostname,並指定5601 Port,就會看到登入頁。
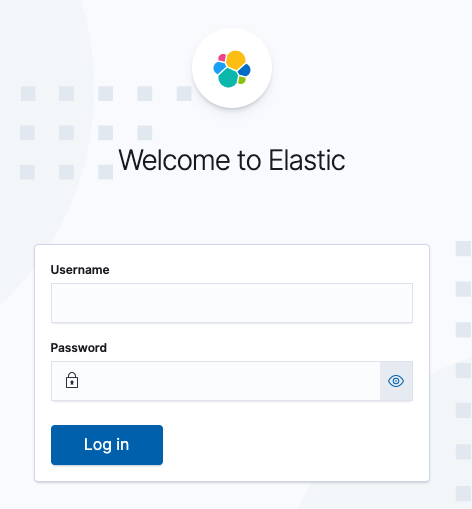
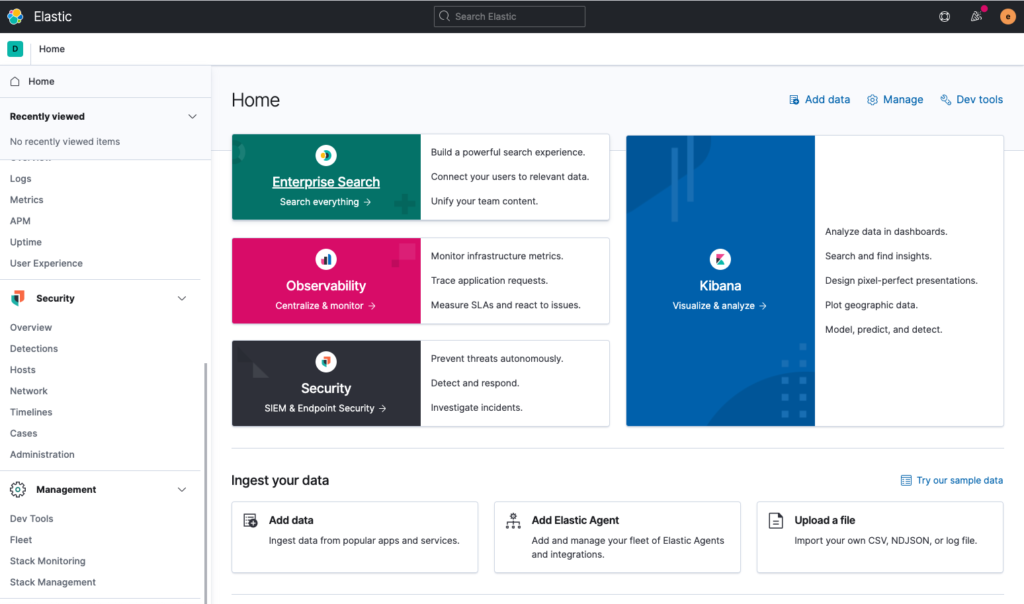
可以使用方才建立的帳號elastic及密碼登入,就可以進入Kibana畫面囉。
~ END ~