
Elastic Stack 8 EP 3:Kibana安裝及設定
Kibana:將資料視覺化
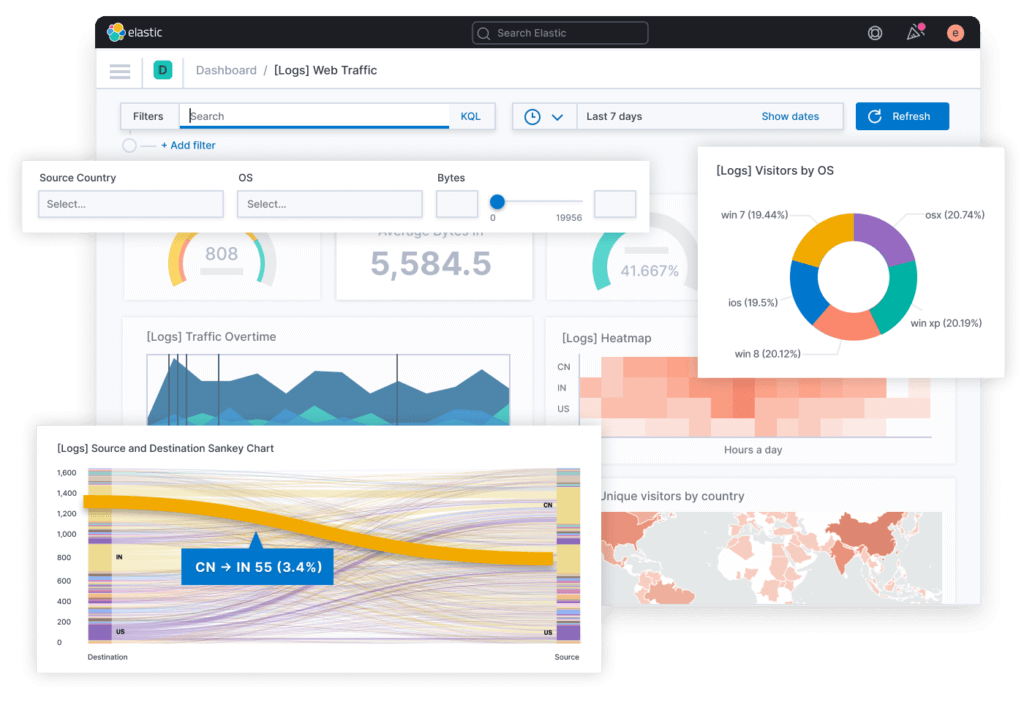
眾所皆知,Elasticsearch可以存放大量的資料,但資料必須要被使用,其中一種方式就是利用圖表來呈現經過整理、分析後的數據,而Kibana就非常善於這項工作,從官方提供的示意圖如下,可以看到Kibana的圖表、儀表板非常多且高度整合性。
安裝環境
- OS:Rocky Linux 8.5
- CPU:2 Cores
- Memory:2 GB
- Disk:20 GB
- IP:
- lab-kbn.example.com:192.168.44.105/24
- 版本:
- OpenJDK:11
- Kibana:8.2.1
- Kibana官方下載網址:link。
重置kibana_system密碼
為了安全認證,必須先到Elasticsearch任何一個節點重置kibana_system這個帳號的密碼。
$ /usr/share/elasticsearch/bin/elasticsearch-reset-password --username kibana_system

This tool will reset the password of the [kibana_system] user to an autogenerated value.
The password will be printed in the console.
Please confirm that you would like to continue [y/N]y


Password for the [kibana_system] user successfully reset.
New value: Us-kpJH_2j*BVBwnz+S-
安裝Kibana
第1步:安裝OpenJDK 11。
$ yum install java-1.8.0-openjdk.x86_64 -y第2步:下載Kibana安裝檔。
$ cd /tmp/
$ wget https://artifacts.elastic.co/downloads/kibana/kibana-8.2.1-x86_64.rpm第3步:安裝Kibana。
$ yum install kibana-8.2.1-x86_64.rpm -y第4步:產生加密用的key。
$ /usr/share/kibana/bin/kibana-encryption-keys generate

## Kibana Encryption Key Generation Utility

The 'generate' command guides you through the process of setting encryption keys for:

xpack.encryptedSavedObjects.encryptionKey
    Used to encrypt stored objects such as dashboards and visualizations
    https://www.elastic.co/guide/en/kibana/current/xpack-security-secure-saved-objects.html#xpack-security-secure-saved-objects

xpack.reporting.encryptionKey
    Used to encrypt saved reports
    https://www.elastic.co/guide/en/kibana/current/reporting-settings-kb.html#general-reporting-settings

xpack.security.encryptionKey
    Used to encrypt session information
    https://www.elastic.co/guide/en/kibana/current/security-settings-kb.html#security-session-and-cookie-settings


Already defined settings are ignored and can be regenerated using the --force flag.  Check the documentation links for instructions on how to rotate encryption keys.
Definitions should be set in the kibana.yml used configure Kibana.

Settings:
xpack.encryptedSavedObjects.encryptionKey: cd43a0c70f2fbb673d4d2ecb1a3ddd00
xpack.reporting.encryptionKey: a618b27d648704dd87c7997c29238834
xpack.security.encryptionKey: 2a4cb630aeb78fcf21616259dd72e860第5步:將Elasticsearch安裝時所產生的憑證”.crt”檔案複製到Kibana這台伺服器,放置於/etc/kibana這個資料夾內。
$ scp [email protected]:/etc/elasticsearch/certs/http_ca.crt /etc/kibana/http_ca.crt第6步:設定kibana的設定檔(kibana.yml),位於/etc/kibana/kibana.yml。
$ vi /etc/kibana/kibana.yml

server.port: 5601
server.host: "192.168.44.105"
server.publicBaseUrl: "http://192.168.44.105:5601"
server.name: "lab-kbn.example.com"
elasticsearch.hosts: ["https://lab-elk-1.example.com:9200", "https://lab-elk-2.example.com:9200", "https://lab-elk-3.example.com:9200"]
elasticsearch.ssl.certificateAuthorities: [ "/etc/kibana/http_ca.crt" ]
logging:
  appenders:
    file:
      type: file
      fileName: /var/log/kibana/kibana.log
      layout:
        type: json
  root:
    appenders:
      - default
      - file
pid.file: /run/kibana/kibana.pid
xpack.encryptedSavedObjects.encryptionKey: cd43a0c70f2fbb673d4d2ecb1a3ddd00
xpack.reporting.encryptionKey: a618b27d648704dd87c7997c29238834
xpack.security.encryptionKey: 2a4cb630aeb78fcf21616259dd72e860第7步:將kibana_system這組帳號密碼利用Kibana的keystore機制存入Kibana中,以供Kibana連線Elasticsearch時使用。
$ /usr/share/kibana/bin/kibana-keystore create
A Kibana keystore already exists. Overwrite? [y/N] y
Created Kibana keystore in /etc/kibana/kibana.keystore

$ /usr/share/kibana/bin/kibana-keystore add elasticsearch.username
Enter value for elasticsearch.username: *************

$ /usr/share/kibana/bin/kibana-keystore add elasticsearch.password
Enter value for elasticsearch.password: ********************
第8步:啟動Kibana。
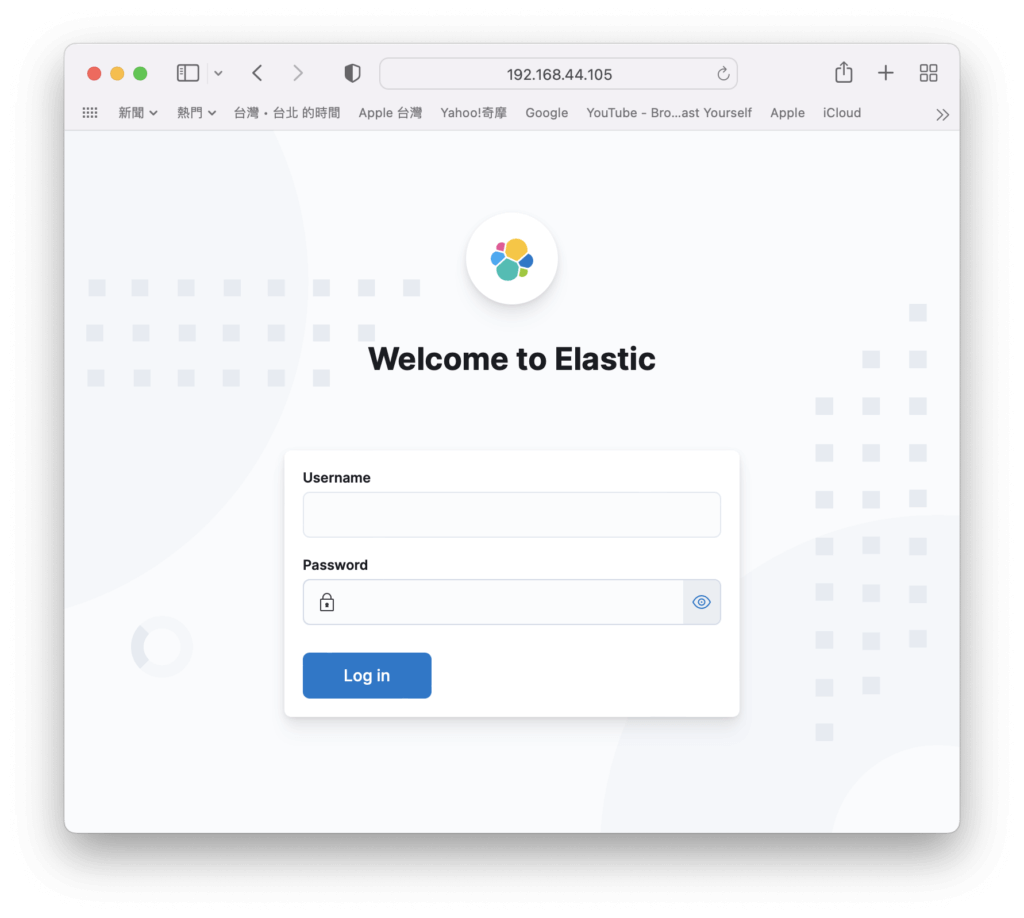
$ systemctl start kibana第9步:使用瀏覽器連線到http://{ip or hostname}:5601/,會看到以下登入畫面,輸入elastic以及前一篇所記錄下來的密碼。
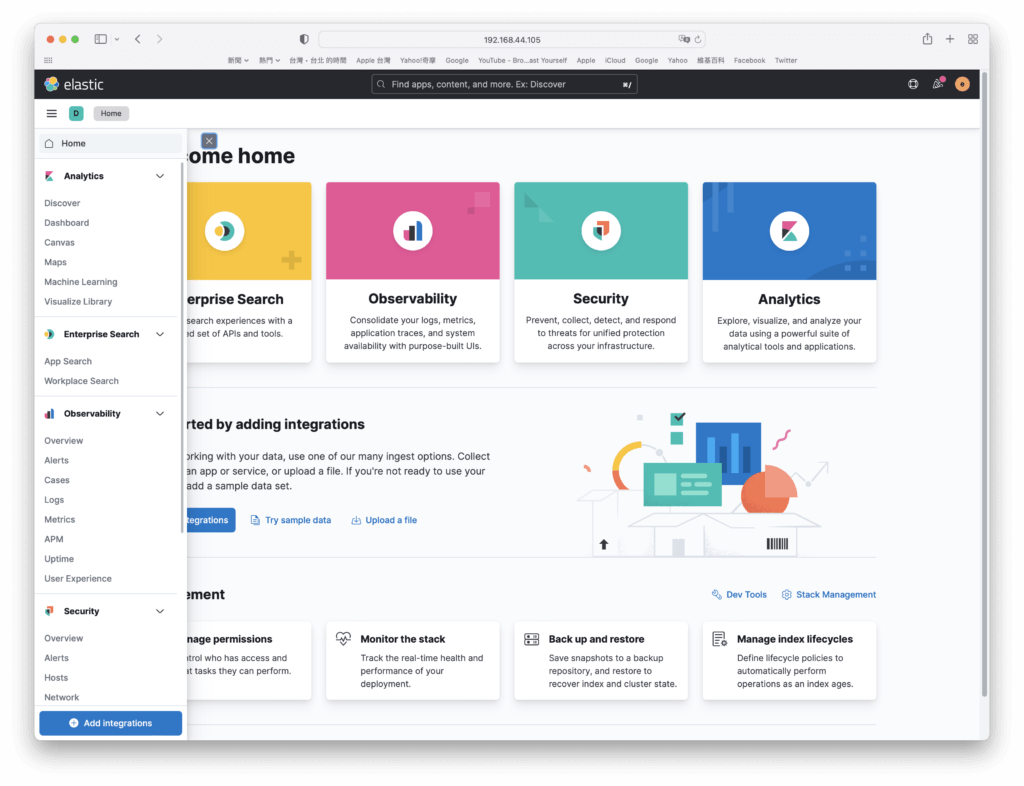
第10步:登入後就可以看到Kibana的畫面囉!
~ END ~