
安裝Keycloak v19提供身份認證與SSO服務
What Is Keycloak
作為Red Hat SSO的開源版本,Keycloak的大部分功能幾乎與企業版本相同,可以發現,其顧名思義就是作為身份認證的服務,藉由Keycloak作為認證與授權中心,可以統一前端系統的認證授權標準,也可以整合日趨多元的認證服務,包含LDAP、Windows AD、Google、Facebook…等,不需要為了整合多個認證服務而不斷重新開發。
官方網站 (https://www.keycloak.org/)
安裝環境
- OS:Rocky Linux 8.x
- JDK:OpenJDK 11
- Database:PostgreSQL 14
- Others:OpenSSL
安裝PostgreSQL (參考:在CentOS 7安裝PostgreSQL 14.x – 單機環境)
安裝步驟 – 開發環境
步驟1:從官方網站下載安裝包。
$ wget https://github.com/keycloak/keycloak/releases/download/19.0.1/keycloak-19.0.1.zip步驟2:解壓縮安裝包。
$ unzip keycloak-19.0.1.zip步驟3:以開發模式啟動Keycloak。
$ bin/kc.sh start-dev步驟4:在目錄下會產生名為data的資料夾,預設以H2資料庫儲存設定。
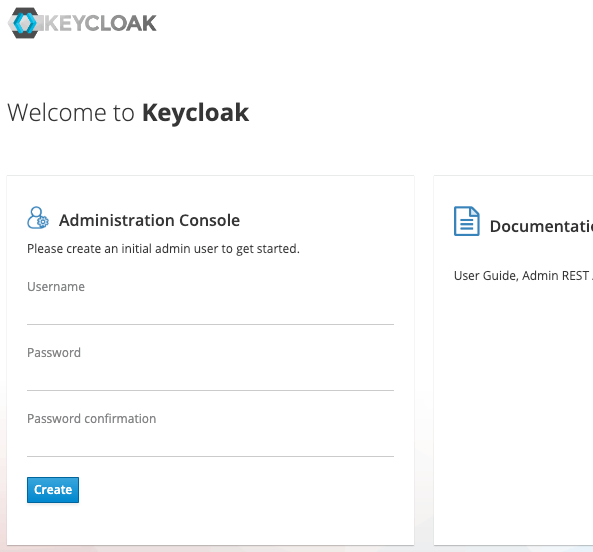
步驟5:使用瀏覽器瀏覽管理網頁:http://{IP or Hostname}:8080/,出現新增管理者帳號的畫面,在此新增帳號後即可登入”Administration Console”。
安裝步驟 – 生產環境
步驟1:從官方網站下載安裝包。
$ wget https://github.com/keycloak/keycloak/releases/download/19.0.1/keycloak-19.0.1.zip步驟2:解壓縮安裝包。
$ unzip keycloak-19.0.1.zip步驟3:若要建立自簽憑證,可以參考以下指令:
$ openssl req -newkey rsa:4096 -x509 -sha512 -days 365 -nodes -out certificate.pem -keyout privatekey.pem步驟4:修改Keycloak的參數設定,本範例所設定的參數都是必要的,不能遺漏。
$ sudo vi conf/keycloak.conf

# Basic settings for running in production. Change accordingly before deploying the server.

# Database

# The database vendor.
#db=postgres
db=postgres
#指定以PostgreSQL作為Keycloak的資料庫

# The username of the database user.
#db-username=keycloak
db-username=pgadmin
#指定具有權限的帳號

# The password of the database user.
#db-password=password
db-password=1qaz@WSX3edc
#指定密碼

# The full database JDBC URL. If not provided, a default URL is set based on the selected database vendor.
#db-url=jdbc:postgresql://localhost/keycloak
db-url=jdbc:postgresql://192.168.44.160/keycloak
#指定資料庫連接資訊與資料庫名稱,此範例,在PostgreSQL事先建立了名為keycloak的資料庫

# Observability

# If the server should expose healthcheck endpoints.
#health-enabled=true

# If the server should expose metrics endpoints.
#metrics-enabled=true

# HTTP

# The file path to a server certificate or certificate chain in PEM format.
#https-certificate-file=${kc.home.dir}conf/server.crt.pem
https-certificate-file=${kc.home.dir}ca/certificate.pem
#HTTPS用的憑證
#因為Keycloak作為身份認證使用,傳輸內容都是機密的,例如密碼,必須使用HTTPS傳輸

# The file path to a private key in PEM format.
#https-certificate-key-file=${kc.home.dir}conf/server.key.pem
https-certificate-key-file=${kc.home.dir}ca/privatekey.pem
#HTTPS憑證的私鑰

# The proxy address forwarding mode if the server is behind a reverse proxy.
#proxy=reencrypt

# Do not attach route to cookies and rely on the session affinity capabilities from reverse proxy
#spi-sticky-session-encoder-infinispan-should-attach-route=false

# Hostname for the Keycloak server.
#hostname=myhostname
hostname=lab-kc.example.com
#指定主機名稱步驟5:建置Keycloak,並指定以PostgreSQL為資料庫。
$ bin/kc.sh build --db postgres步驟6:先指定一組預設的帳號密碼,做為第一次啟動時的管理員,日後可以刪除。
$ export KEYCLOAK_ADMIN=kcadmin
$ export KEYCLOAK_ADMIN_PASSWORD=changeme步驟7:指定設定檔,並以verbose模式啟動,第一次啟動時,順便將資料庫所需的Table也建立起來,會花費一些時間,請耐心等待。
$ bin/kc.sh --config-file=conf/keycloak.conf --verbose start步驟8:啟動Keycloak,可以從預設的網址進入:https://{IP or Hostname}:8443/,畫面如下。
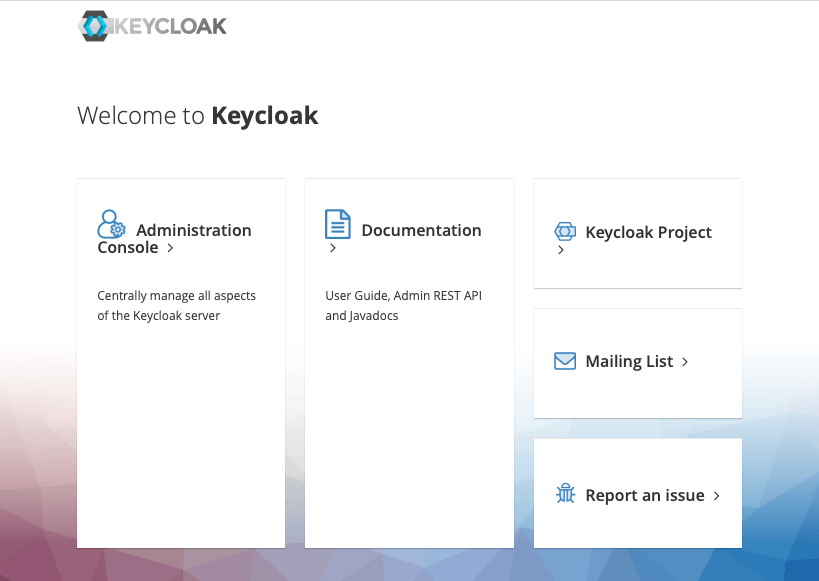
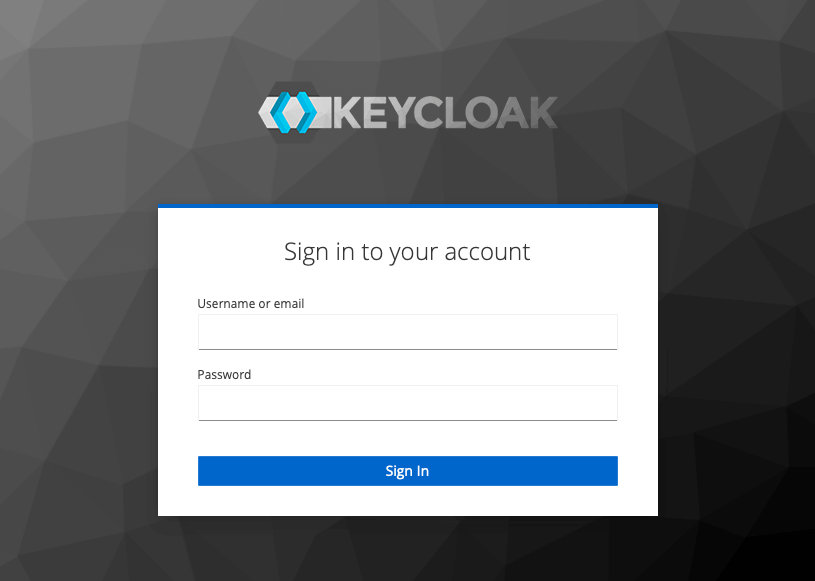
步驟9:點擊左邊的”Administration Console”,可以看到下圖的登入畫面,使用步驟5所設定的預設管理者帳號密碼即可登入。
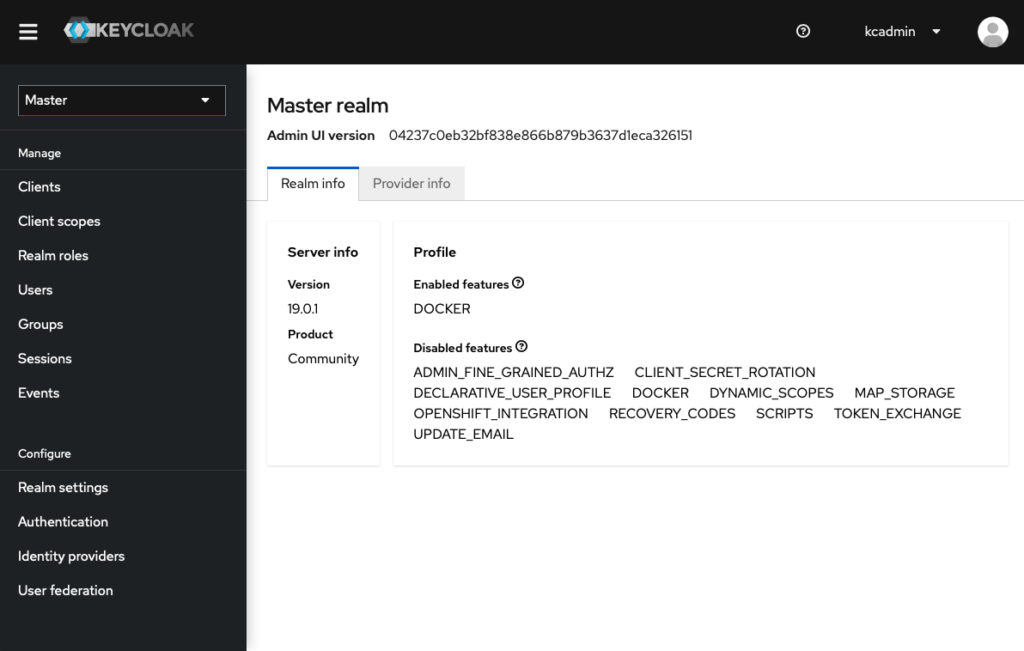
步驟10:登入”Administration Console”後可以看到一個主要的Realm名為Master,及相關資訊與管理功能,此時可以設定更多的管理者,同時刪掉步驟5所設定的帳號,保持安全。
步驟11:以上步驟完成後,以”Production”模式啟動Keycloak。
$ bin/kc.sh --config-file=conf/keycloak.conf start~ END ~