透過Helm在Kubernetes (minikube)上安裝Airflow 2.x.x – 官方標準版
安裝環境
- Docker-ce:20.10.11
- Kubectl:v1.23.0 (Client)、v1.22.3 (Server)
- minikube:v1.24.0
- Helm:v3.7.2
環境環境的建置請詳見【安裝minikube與Helm】。
安裝Airflow
**官方標準版的Helm Chart安裝項目包含了PostgreSQL!
Airflow官方網站:https://airflow.apache.org/
步驟1:使用一個非root帳號登入作業系統,該帳號必須要能操控kubectl。
步驟2:使用kubectl建立一個Airflow的namespace。
$ kubectl create namespace airflow步驟3:使用helm取得Airflow的repo。
$ helm repo add apache-airflow https://airflow.apache.org步驟4:安裝Airflow。
$ helm install airflow apache-airflow/airflow --namespace airflow這裡會稍微要等一下,可能需要幾分鐘到十多分鐘,端看網路速度與硬體效能,安裝完後會出現以下資訊:
NAME: airflow
LAST DEPLOYED: Mon Dec 13 22:00:00 2021
NAMESPACE: airflow
STATUS: deployed
REVISION: 1
TEST SUITE: None
NOTES:
Thank you for installing Apache Airflow 2.2.1!

Your release is named airflow.
You can now access your dashboard(s) by executing the following command(s) and visiting the corresponding port at localhost in your browser:

Airflow Webserver:     kubectl port-forward svc/airflow-webserver 8080:8080 --namespace airflow
Flower dashboard:      kubectl port-forward svc/airflow-flower 5555:5555 --namespace airflow
Default Webserver (Airflow UI) Login credentials:
    username: admin
    password: admin
Default Postgres connection credentials:
    username: postgres
    password: postgres
    port: 5432

You can get Fernet Key value by running the following:

    echo Fernet Key: $(kubectl get secret --namespace airflow airflow-fernet-key -o jsonpath="{.data.fernet-key}" | base64 --decode)

###########################################################
#  WARNING: You should set a static webserver secret key  #
###########################################################

You are using a dynamically generated webserver secret key, which can lead to
unnecessary restarts of your Airflow components.

Information on how to set a static webserver secret key can be found here:
https://airflow.apache.org/docs/helm-chart/stable/production-guide.html#webserver-secret-key
安裝後會有一些預設的設定,包含Airflow的:
- 管理介面預設帳號密碼:admin / admin
- 預設資料庫帳號密碼:postgres / postgre
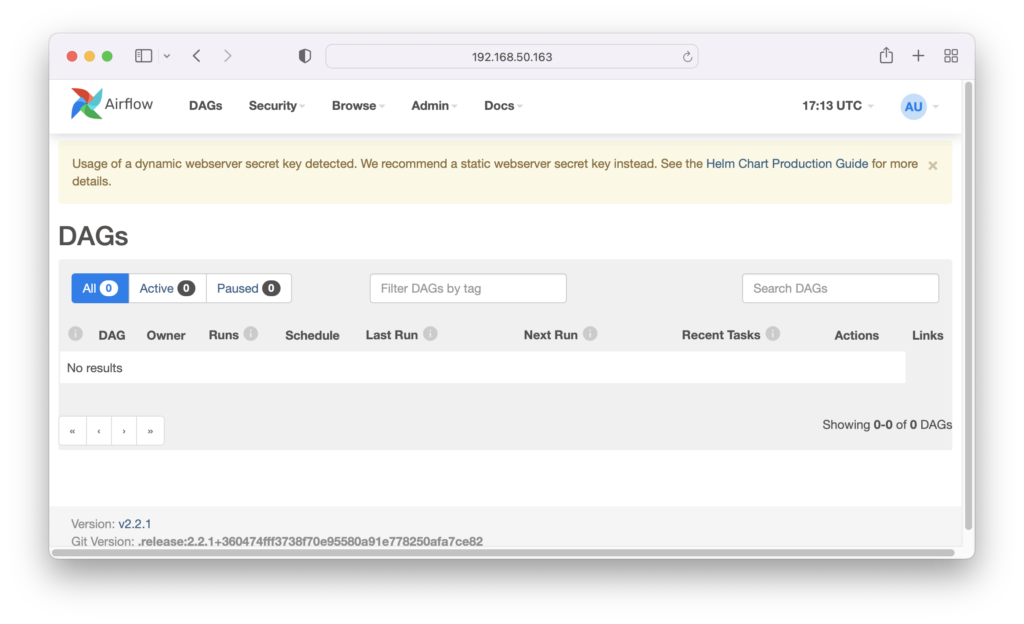
步驟5:啟動Airflow Webserver。
$ kubectl port-forward svc/airflow-webserver 8080:8080 --address='0.0.0.0' --namespace airflow透過http://{ip}:8080/連入Airflow的管理介面,如下圖:
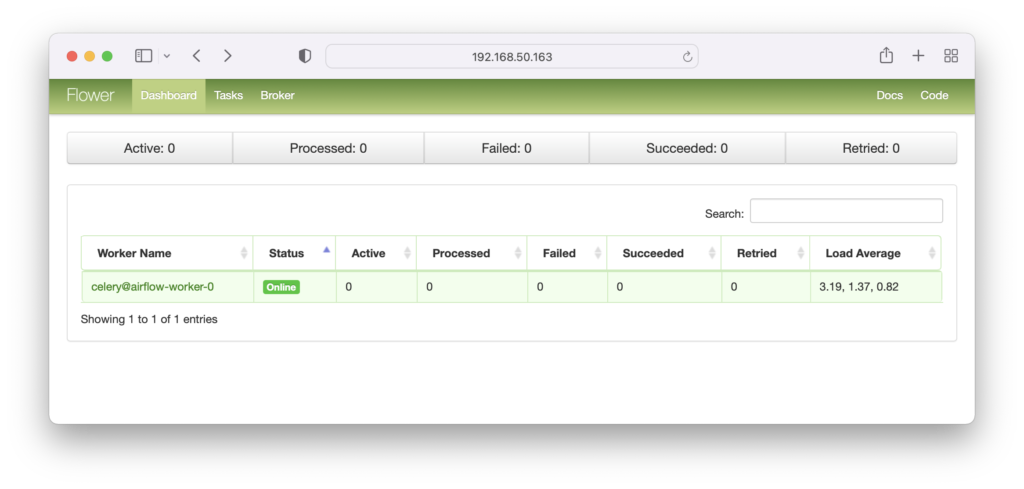
步驟6:啟動Airflow Flower dashboard。
$ kubectl port-forward svc/airflow-flower 5555:5555 --address='0.0.0.0' --namespace airflow透過http://{ip}:5555/連入Airflow的監控儀表板,如下圖:
~ END ~